In photography class, I made some cyanotype prints.
This is kind of how they are supposed to turn out.

Unfortunately, most of the prints I took turned out like this. There was no way to make the image darker. Also, I'm not one for waste, so I decided to make a journal from the remaining pages using this tutorial.
I started with 3 very large pieces of paper. I folded each in half, cut them, then cut them in half again.
Then I finally folded the last papers.
I ended with 8 sheets of paper that were folded. Because this paper is very thick, I folded over 2 pieces together.
I then poked 4 holes with an ordinary sewing needle. I wasn't concerned about making everything line up perfectly. I poked 1 hole and inch from each edge and another hole an inch further in. I did the same with all the paper
Then I stuck the needle through the first hole from the outside.
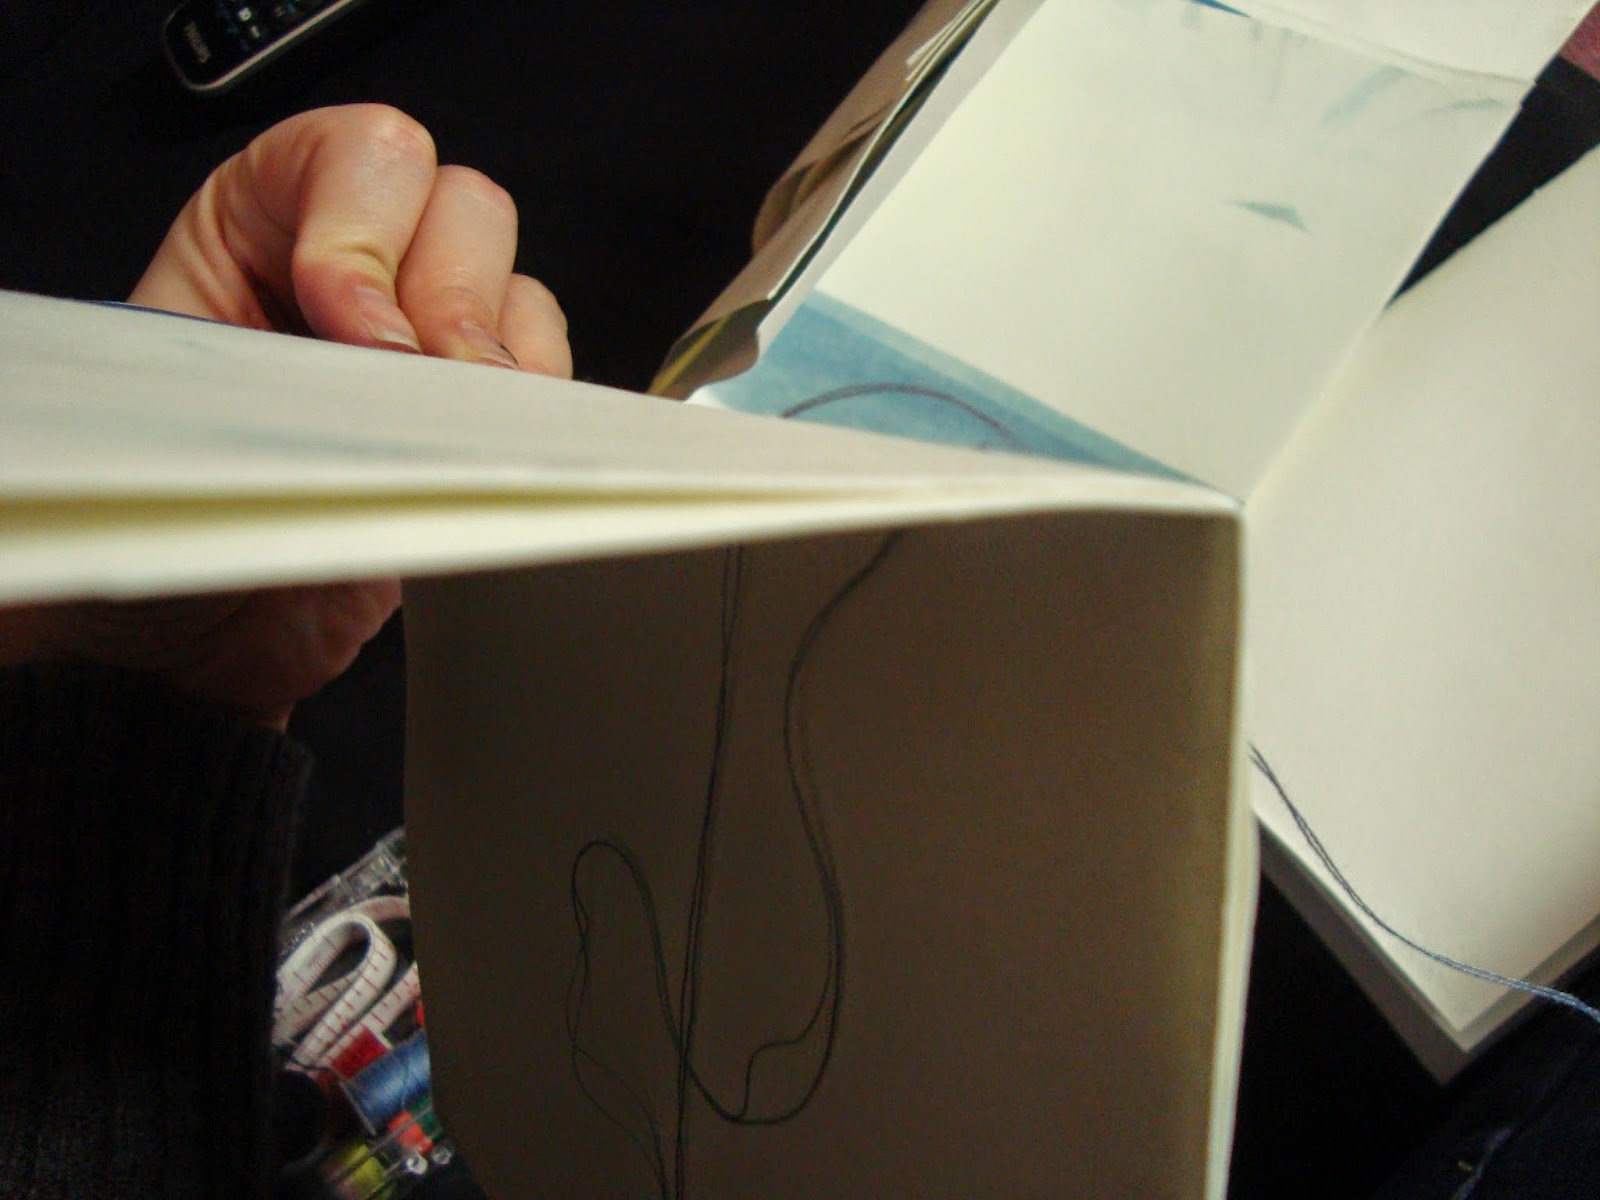
This is what the thread should look like from the inside pages.
I had to go through and tie thread at the top and bottom of the binding. I would recommend using a binder clip to keep the pages together. It's important to keep the binding tight.
Once the binding is complete, you will need a piece of fabric or paper and book binding glue. I found that tacky glue worked amazingly.
Spread gobs (very specific) of glue on the binding, and spread it on with your finger or a brush if you don't like glue on your fingers.
Spread glue on the paper as well. (I used a piece of a paper bag.)
Then press the paper around the edge, tightening the binding even more.
Next, put something heavy over the book, close to the binding.
Here's your almost-finished book! If you would like something a little more finished than this, check out some of these tutorials:
Here is the tutorial picture I used if you would like more information.


No comments:
Post a Comment